


Have you ever wondered why some spaces feel effortless to work in, while others leave you frustrated? The secret often lies in the design of the room. When it comes to creating a functional and stylish area, choosing the right plan is crucial.
Whether you’re renovating or starting from scratch, the way you arrange your space can make all the difference. From U-shaped to open-concept designs, each option offers unique benefits. But how do you decide which one suits your needs best?
This article will guide you through the process of selecting the best kitchen layout for your home. You’ll learn how to balance style with functionality, ensuring your space is both beautiful and practical. Let’s dive in and explore the possibilities!
Introduction to Your Kitchen Layout Journey
Starting your design journey with a clear plan ensures a smooth and efficient process. Whether you’re renovating or starting from scratch, the way you arrange your space can make all the difference. A well-thought-out idea can transform your area into a functional and stylish space.
Early decisions, like choosing between a range and cooktop, significantly impact the final design. These choices set the tone for the rest of your project. Taking the time to research and plan ensures that every element works together seamlessly.

This article will guide you through every step, from assessing your space to adding the final touches. You’ll learn how to create a cohesive plan that balances beauty and efficiency. By the end, you’ll have a clear vision of your ideal kitchen.
Having a detailed idea before starting your renovation is crucial. It helps avoid costly mistakes and ensures that every detail aligns with your vision. From concept to execution, every step brings you closer to the space you’ve always wanted.
Remember, a well-planned design not only enhances functionality but also reflects your personal style. With the right approach, you can create a kitchen that’s both practical and beautiful. Let’s dive into the details and make your dream space a reality.
Assessing Your Kitchen Space and Needs
Before diving into design choices, understanding your space is essential. A well-thought-out plan ensures every inch of your room is optimized for functionality and style. Start by evaluating your needs and how you use the area daily.

Measuring Your Space Accurately
Begin by taking precise measurements of your room. Note the length, width, and height of walls, windows, and doors. These dimensions will guide your cabinet placement and appliance choices.
Use a tape measure and sketch a floor plan. Include permanent fixtures like plumbing and electrical outlets. This step ensures your design fits seamlessly into the existing space.
Identifying Functional Zones
Next, map out your functional zones. These areas include prepping, cooking, cleaning, and storage. Assigning specific zones helps streamline your workflow and keeps everything organized.
Consider your personal habits when designing these areas. For example, if you cook often, prioritize a spacious cooking zone. Even a small room can become efficient with proper planning.
Balance the dimensions of each zone based on your needs. This approach ensures every part of your space is utilized effectively.
Exploring Different Kitchen Layout Options
When planning your home, the arrangement of your space plays a pivotal role in functionality. The right design can enhance workflow, maximize storage, and create a welcoming atmosphere. Let’s explore popular options like U-, L-, and galley designs, along with open-concept considerations.

Understanding U-, L-, and Galley Designs
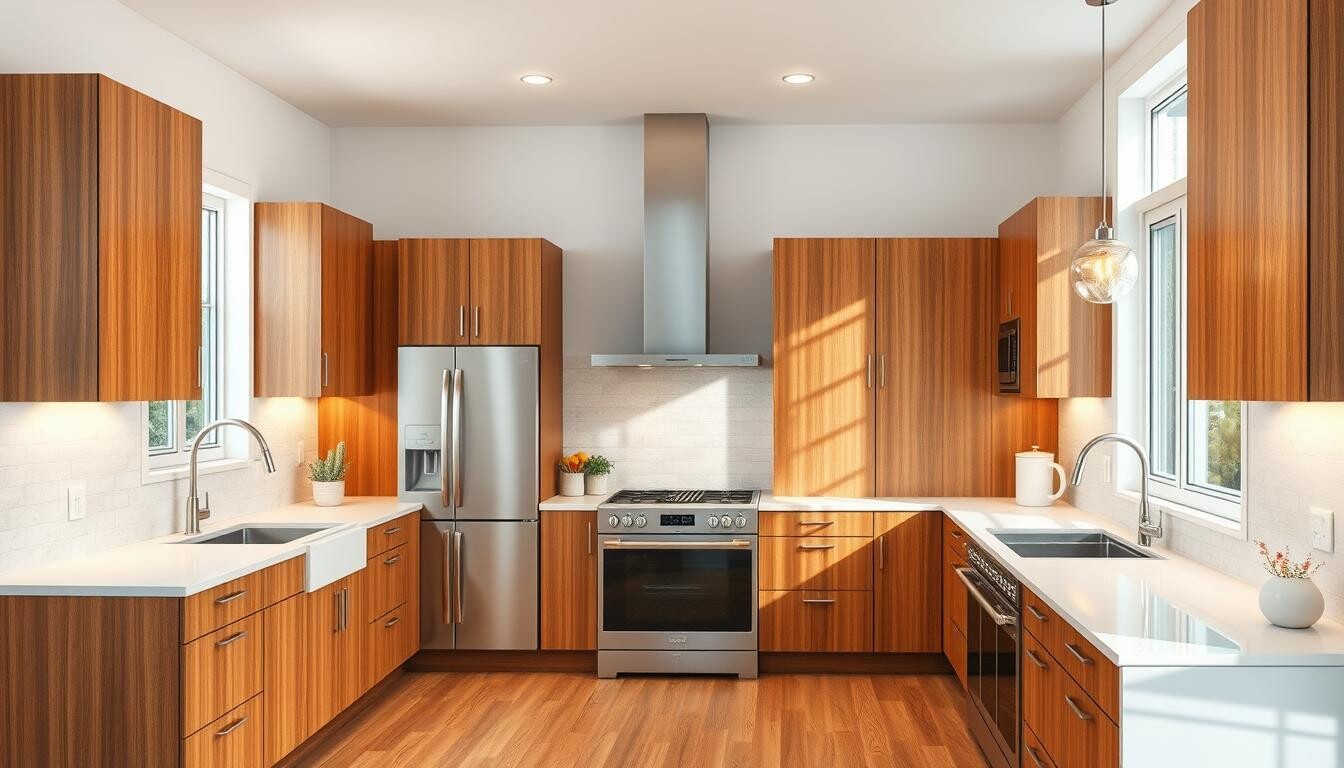
U-shaped designs are ideal for larger rooms, offering ample counter space and storage. They create a cohesive work triangle, making them efficient for cooking and prepping. However, they can feel enclosed in smaller areas.
L-shaped layouts are versatile, fitting well in both compact and spacious rooms. They provide an open feel and allow for easy movement. This design is perfect for those who want flexibility in their space.
Galley kitchens are known for their efficiency, especially in narrow rooms. With two parallel counters, everything is within reach, making it a practical choice for small homes. However, they can feel cramped if not designed thoughtfully.
Open-Concept Kitchen Considerations
Open-concept designs are increasingly popular for their ability to integrate living and dining areas. This layout creates a sense of spaciousness and encourages social interaction. It’s perfect for those who enjoy entertaining or want a seamless flow between rooms.
However, open-concept designs require careful planning to avoid clutter. Storage solutions and designated zones are essential to maintain functionality. Consider your lifestyle and usage needs when choosing this option.
Ultimately, the best design aligns with your daily habits and enhances your space. Whether you prefer the efficiency of a galley or the openness of an L-shaped layout, each option offers unique benefits. Choose wisely to create a room that works for you.
U-, L-, Galley, and Open-Concept: Pros and Cons
Every design has its strengths and weaknesses, depending on your needs. Understanding the pros and cons of each option helps you make an informed decision. Let’s break down the key features of U-, L-, galley, and open-concept designs.

U-shaped designs are ideal for larger spaces, offering ample counter space and storage. They create a cohesive work triangle, making them efficient for cooking and prepping. However, they can feel enclosed in smaller areas and may limit movement.
L-shaped layouts are versatile, fitting well in both compact and spacious rooms. They provide an open feel and allow for easy movement. This design is perfect for those who want flexibility in their space. However, they often require an island to ensure sufficient workspace, which can increase costs.
Galley kitchens are known for their efficiency, especially in narrow spaces. With two parallel counters, everything is within reach, making it a practical choice for small homes. However, they can feel cramped if not designed thoughtfully and may limit seating options.
Open-concept designs are increasingly popular for their ability to integrate living and dining areas. This layout creates a sense of spaciousness and encourages social interaction. However, it requires careful planning to avoid clutter and maintain functionality.
When choosing a design, consider how it affects appliance and sink positioning. For example, opting for a rangetop over a full range can free up cabinet and drawer storage. Each layout also impacts your meal preparation and cleanup routines differently.
Ultimately, the best design aligns with your daily habits and enhances your space. Whether you prefer the efficiency of a galley kitchen or the openness of an L-shaped layout, each option offers unique benefits. Choose wisely to create a room that works for you.
Optimal Kitchen Layout for Efficiency
Efficiency in your home’s heart starts with smart design. One of the most critical elements in creating a functional space is the working triangle. This concept ensures that your sink, stove, and refrigerator are placed optimally to streamline your daily tasks.

Designing Your Working Triangle
The working triangle connects the three main work areas: the sink, stove, and refrigerator. Proper placement of these elements reduces unnecessary movement and enhances workflow. Ideally, each side of the triangle should be between 4 and 9 feet, creating a balance between accessibility and space.
To achieve this, position your sink centrally, as it’s the most frequently used area. Place the stove and refrigerator on either side, ensuring they’re within easy reach. This setup minimizes steps and keeps everything you need close at hand.
In smaller spaces, maintaining the triangle can be challenging. However, creative solutions like compact appliances and multifunctional furniture can help. For example, a smaller refrigerator or a combined sink and dishwasher can save valuable space without compromising functionality.
Your cooking habits also play a role in designing the triangle. If you frequently use multiple appliances, consider adding a secondary work zone. This approach ensures that your primary triangle remains efficient, even during complex meal preparations.
| Element | Optimal Placement | Benefits |
|---|---|---|
| Sink | Central location | Reduces movement during tasks |
| Stove | Adjacent to sink | Streamlines cooking process |
| Refrigerator | Opposite sink | Easy access to ingredients |
Thoughtful design of the working triangle not only improves efficiency but also enhances your overall experience. By aligning your space with your daily habits, you can create a functional and enjoyable environment for all your culinary adventures.
Creating Functional Zones in Your Kitchen
Organizing your space into distinct areas can transform how you work and live. By dividing your area into specific zones, you can streamline tasks and enhance efficiency. This approach ensures everything has its place, reducing clutter and making daily routines smoother.

Prepping, Cooking, Cleaning, and Putting Away
Start by identifying your primary activities: prepping, cooking, cleaning, and storage. The prepping zone should have ample counter space and be near the sink for easy access. This setup minimizes movement and keeps your workflow seamless.
The cooking zone should house your stove, oven, and microwave. Position it close to the prepping area to reduce steps during meal preparation. Ensure this space is well-ventilated and has easy access to utensils and ingredients.
Your cleaning zone should include the sink, dishwasher, and trash area. Place it near the cooking and prepping areas for quick cleanup. This arrangement saves time and keeps your space tidy.
Finally, the storage zone should be easily accessible for putting away groceries and cookware. Consider adding an island for extra storage and workspace. This addition can enhance functionality while maintaining a cohesive design.
Well-defined zones not only improve efficiency but also make your area more enjoyable to use. By adapting these zones to your unique needs, you can create a space that works perfectly for you.
Maximizing Cabinet and Drawer Storage
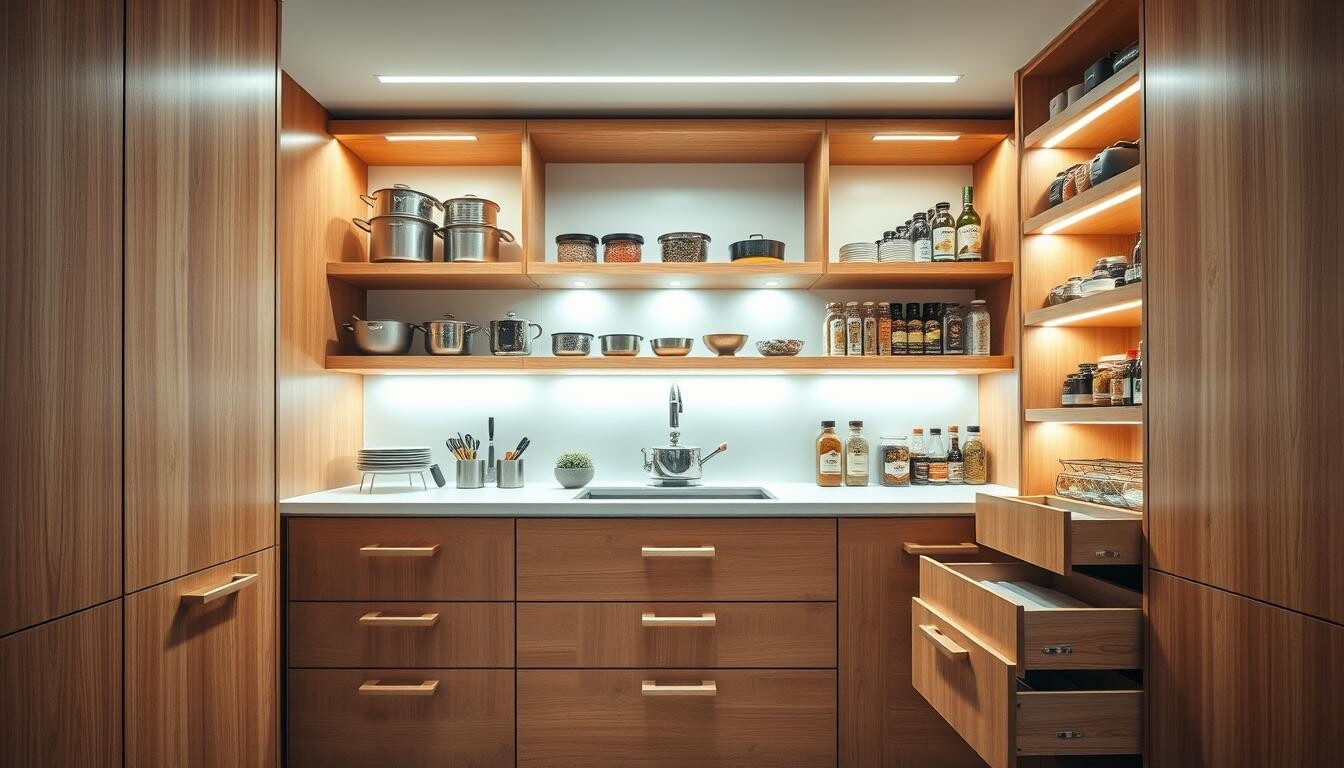
Smart storage solutions can make or break the functionality of your space. Proper planning and measuring of your cabinet and drawer systems ensure every inch is utilized efficiently. Start by assessing your needs and calculating the dimensions of your storage areas.
Incorporating features like pull-out shelves can significantly enhance accessibility. These systems allow you to reach items at the back of your cabinet without hassle. Custom drawer systems, such as deep drawers, provide up to 25% more usable space than traditional door cabinets.

Smart configurations, like vertical storage or floor-to-ceiling cabinets, can maximize your space. For example, taller cabinets add approximately 20% more storage compared to standard-height units. These solutions help transform clutter into an organized and functional area.
Integrating storage solutions doesn’t mean compromising on design aesthetics. Choose sleek, modern designs that blend seamlessly with your overall theme. For instance, a well-placed shelf or a stylish drawer system can enhance both functionality and visual appeal.
Here’s a quick comparison of storage options:
| Storage Type | Benefits | Best Use |
|---|---|---|
| Pull-Out Shelves | Easy access to items | Deep cabinets |
| Deep Drawers | Increased usable space | Cookware and utensils |
| Vertical Cabinets | Maximizes wall space | Small areas |
By carefully planning your storage, you can create a space that’s both efficient and stylish. Whether you’re renovating or starting from scratch, these tips will help you make the most of your area.
Choosing Appliances and Sink Placement
Strategic placement of your sink and appliances enhances daily efficiency. The right choices can streamline your workflow and make your area more functional. Let’s explore how to select and position these elements for optimal performance.

Selecting the Right Large Appliances
When choosing appliances, consider both functionality and style. Your refrigerator, stove, and dishwasher should align with your daily needs and the overall design of your space. Measure your area carefully to ensure these items fit seamlessly.
For example, a refrigerator with a wide door swing requires ample clearance. Similarly, a stove should have enough countertop space on either side for safe and efficient cooking. These details ensure your appliances enhance rather than hinder your workflow.
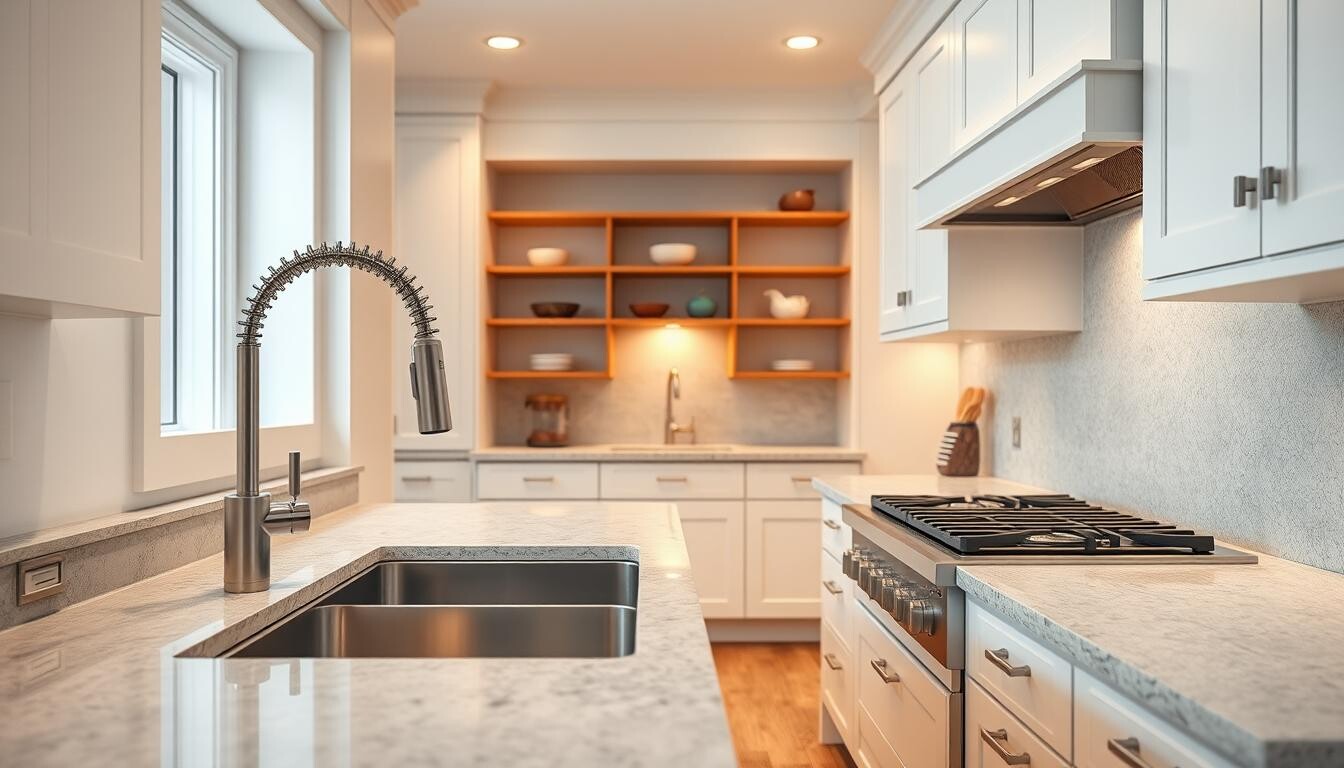
Sink Placement for Maximum Efficiency
The sink is a central hub in any functional area. Place it near your refrigerator and stove to create an efficient work triangle. This setup minimizes movement and keeps everything within easy reach.
Consider adding a dishwasher next to the sink for quick cleanup. Ensure there’s enough countertop space on both sides for prepping and drying dishes. Thoughtful placement of these elements can transform your daily routines.
| Element | Optimal Placement | Benefits |
|---|---|---|
| Refrigerator | Near prep area | Easy access to ingredients |
| Stove | Adjacent to sink | Streamlines cooking process |
| Sink | Central location | Reduces movement during tasks |
By carefully selecting and positioning your appliances and sink, you can create a space that’s both practical and stylish. These choices ensure your area works as hard as you do.
Incorporating Kitchen Islands and Peninsulas
Adding an island or peninsula can transform your space into a more functional and inviting area. These features not only enhance workflow but also add aesthetic value. Whether you’re working with a compact or spacious area, they offer versatile solutions to meet your needs.

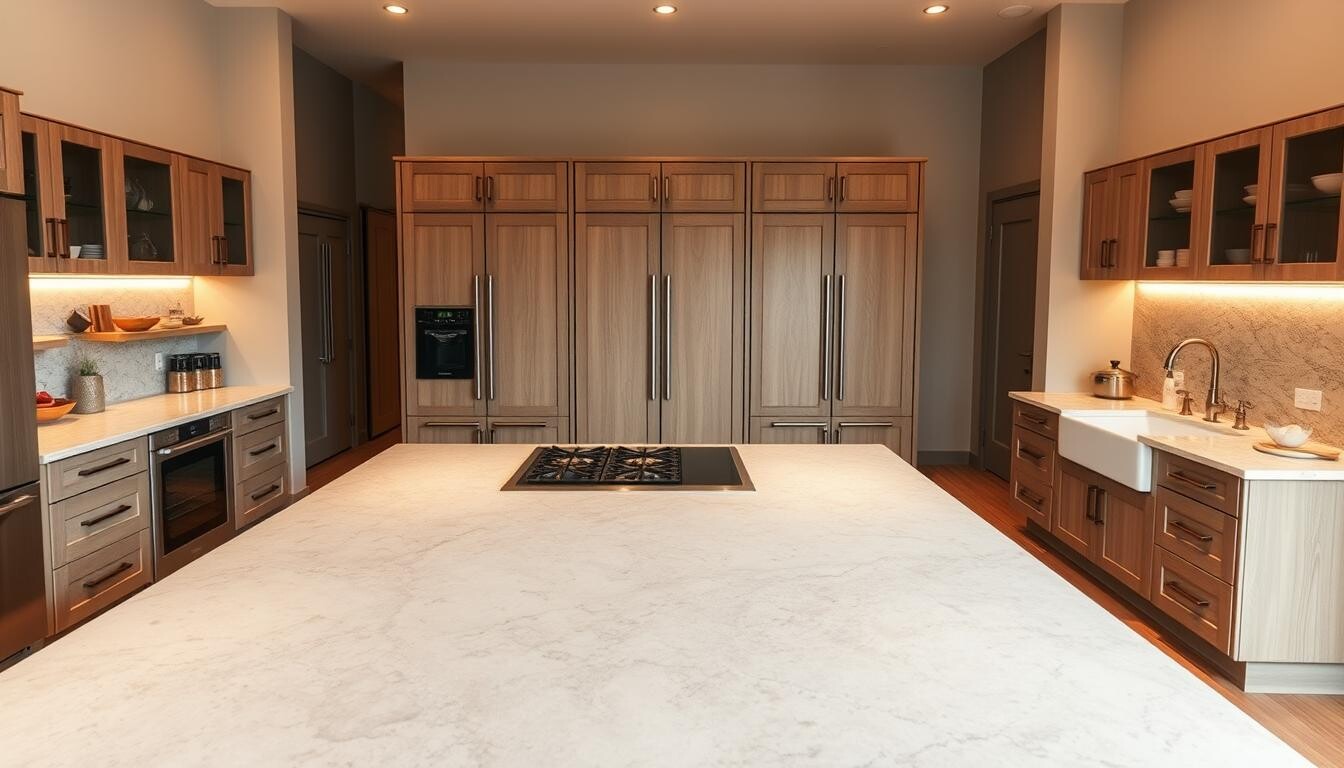
Benefits of Including an Island
An island serves as a multi-purpose zone, providing extra counter space for prepping meals or casual dining. It can also house additional storage, keeping your area clutter-free. For those who enjoy entertaining, an island becomes a central hub for social interaction.
When planning an island, ensure it doesn’t obstruct movement or appliance doors. A minimum clearance of 3 feet around all sides is recommended, with 4 feet being ideal for high-traffic areas. This ensures smooth workflow and accessibility.
Maximizing Peninsula Functionality
A peninsula offers similar benefits to an island but is attached to the main structure. It’s perfect for smaller spaces where a freestanding island isn’t feasible. A peninsula can extend your workspace, provide seating, and even incorporate storage solutions.
Consider adding electrical outlets to your peninsula for added functionality. This allows you to use small appliances or charge devices conveniently. Proper lighting, like pendant lights, enhances both usability and aesthetics.
| Feature | Island | Peninsula |
|---|---|---|
| Space Requirement | Larger areas | Compact spaces |
| Seating Capacity | 2-6 people | 2-4 people |
| Storage Options | Ample cabinets | Accessible from both sides |
Integrating an island or peninsula into your design requires thoughtful planning. Measure your space carefully and consider how these features will enhance your daily routines. With the right approach, you can create a functional and stylish area that meets all your needs.
Planning Your Lighting, Color Palette, and Finishes
The right lighting and color choices can elevate your space from ordinary to extraordinary. A well-thought-out plan enhances both functionality and atmosphere, making your area more enjoyable to use.
Start with your lighting scheme. Layered lighting, including task, ambient, and accent lights, ensures every corner is well-lit. For example, pendant lights over an island provide focused illumination, while under-cabinet lighting brightens workspaces.

Next, consider your color palette. The 60:30:10 rule is a great guideline: 60% of the room in a dominant color, 30% in a secondary shade, and 10% as an accent. This creates balance and harmony. Neutral tones like white or gray make the space feel larger, while bold colors add personality.
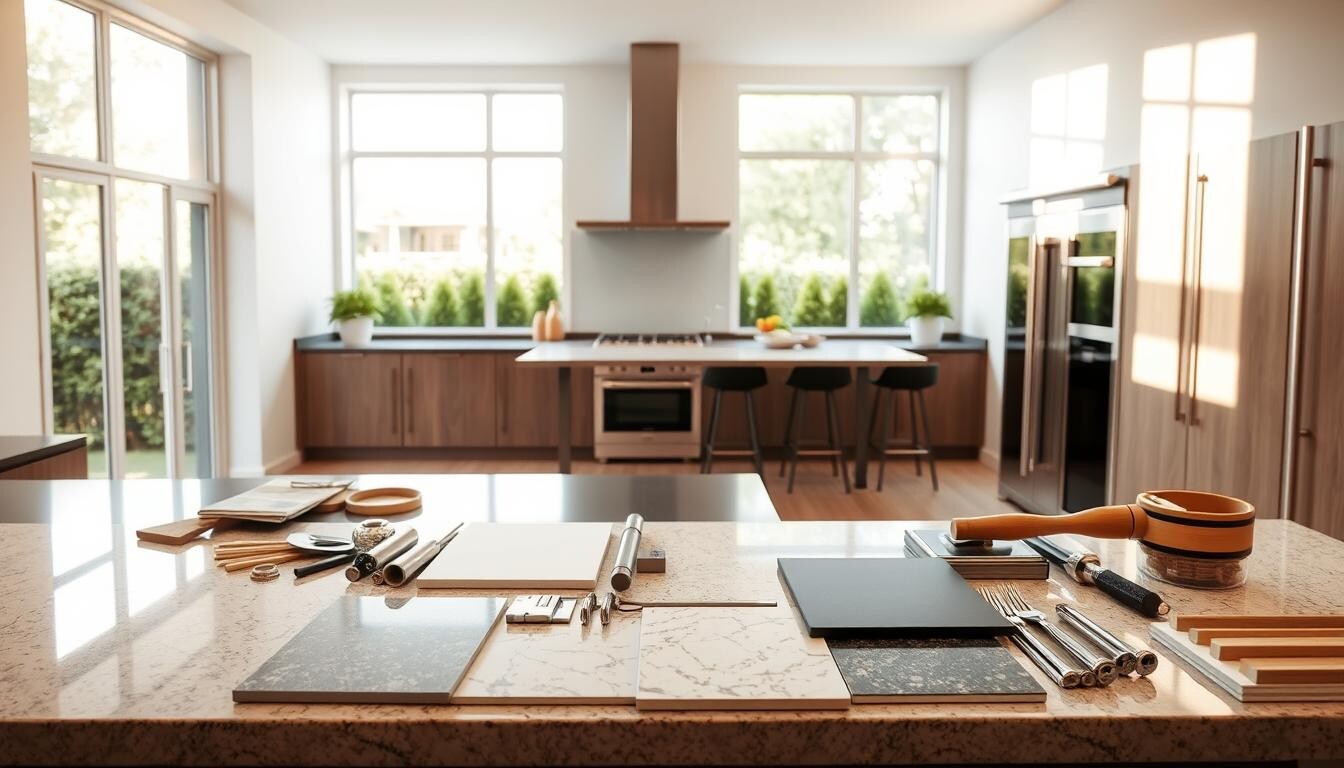
When choosing finishes, prioritize durability for high-traffic areas. For example, quartz countertops are both stylish and resilient. Similarly, matte finishes on walls hide fingerprints and smudges better than glossy ones.
Finally, integrate design elements that enhance both aesthetics and practicality. A colorful wall or textured floor can add depth without overwhelming the space. By balancing bright workspaces with cozy corners, you create a welcoming and functional environment.
Utilizing Floor Plans and Online Design Tools
Visualizing your space before making changes can save time and money. Modern tools like RoomSketcher allow you to create detailed floor plans in both 2D and 3D. These tools bring your layout idea to life, helping you refine every detail before starting your project.

One of the biggest advantages of using digital tools is the ability to adjust dimensions and arrangements in real time. You can experiment with different storage solutions, wall placements, and overall space utilization. This flexibility ensures your final plan meets your needs perfectly.
Sharing your design with family, contractors, or designers is also seamless. Integrated sharing features allow for easy collaboration, ensuring everyone is on the same page. This step minimizes misunderstandings and ensures your vision is executed accurately.
Iterative design is another key benefit. You can compare multiple versions of your floor plan, making adjustments until you’re satisfied. This process helps avoid costly mistakes and ensures your space is both functional and stylish.
By leveraging these tools, you can transform your layout idea into a well-organized and efficient area. Whether you’re planning a small update or a complete overhaul, digital design tools make the process smoother and more precise.
Budgeting and Setting a Realistic Timeline
A successful renovation starts with a clear financial plan and a well-structured timeline. Without these, even the best floor plan can fall apart. Setting a realistic budget early ensures you stay on track and avoid unexpected costs.
Begin by mapping out each step of the process. From measuring dimensions to sourcing materials, thorough planning helps control expenses. Allocate time for design, ordering, and installation to avoid delays.

Working with contractors is another critical step. Obtain at least three quotes to ensure competitive pricing. Discuss your budget openly to avoid surprises. A contingency fund of 10-20% is essential for unforeseen expenses.
Here’s a quick guide to budgeting effectively:
| Phase | Key Considerations |
|---|---|
| Design | Finalize floor plan and material choices |
| Materials | Source within budget range |
| Labor | Get multiple quotes and clarify scope |
| Contingency | Set aside 10-20% for unexpected costs |
By following these steps, you can create a stress-free renovation experience. A well-structured plan and timeline are key to achieving your dream space without breaking the bank.
Expert Tips and Advice for Kitchen Renovation
Renovating your space can be overwhelming, but expert advice can simplify the process. Professional designers emphasize the importance of thoughtful planning to create a functional and stylish area. Here are some tips to help you navigate your project with confidence.

Mastering the Working Triangle
The triangle between your sink, stove, and refrigerator is the backbone of an efficient space. Ensure each side of the triangle is between 4 and 9 feet for optimal workflow. This setup minimizes unnecessary movement and keeps everything within easy reach.
For smaller areas, creative solutions like compact appliances can help maintain the triangle. For example, a smaller refrigerator or a combined sink and dishwasher can save valuable space without compromising functionality.
Choosing the Right Cabinetry and Countertops
Cabinetry plays a crucial role in maximizing storage and enhancing aesthetics. Opt for pull-out shelves or deep drawers to make the most of your space. These features provide up to 25% more usable area compared to traditional designs.
When selecting countertops, prioritize durability and style. Materials like quartz are both resilient and visually appealing. A well-chosen countertop can elevate the entire look of your area while standing up to daily wear and tear.
Innovative Solutions: Kitchen Islands and Dishwashers
Adding a kitchen island can transform your space into a multifunctional hub. It provides extra counter space for prepping meals or casual dining while offering additional storage. Ensure there’s at least 3 feet of clearance around the island for smooth movement.
Your dishwasher placement is equally important. Position it next to the sink for quick cleanup and ensure there’s enough countertop space on both sides for prepping and drying dishes.
By following these tips, you can create a space that’s both practical and beautiful. Thoughtful planning and expert insights ensure your renovation project is a success.
Final Thoughts on Your Ideal Kitchen Layout and Conclusion
Creating a space that works seamlessly for your daily routines starts with thoughtful planning. Every zone, from prepping to storage, plays a vital role in enhancing functionality. By balancing design and practicality, you can craft an area that feels both inviting and efficient.
From the work triangle to smart storage solutions, each decision contributes to your ideal setup. Trust your instincts and adapt expert advice to fit your unique lifestyle. Whether you’re optimizing a small corner or redesigning an entire room, the right choices make all the difference.
Remember, a well-planned space is the foundation for a feature that works wonderfully every day. With careful planning and execution, you can turn your vision into reality, creating a space that truly feels like home.